Drone Photography Tips for Beginners: From Shaky Clips to Smooth Aerial Shots
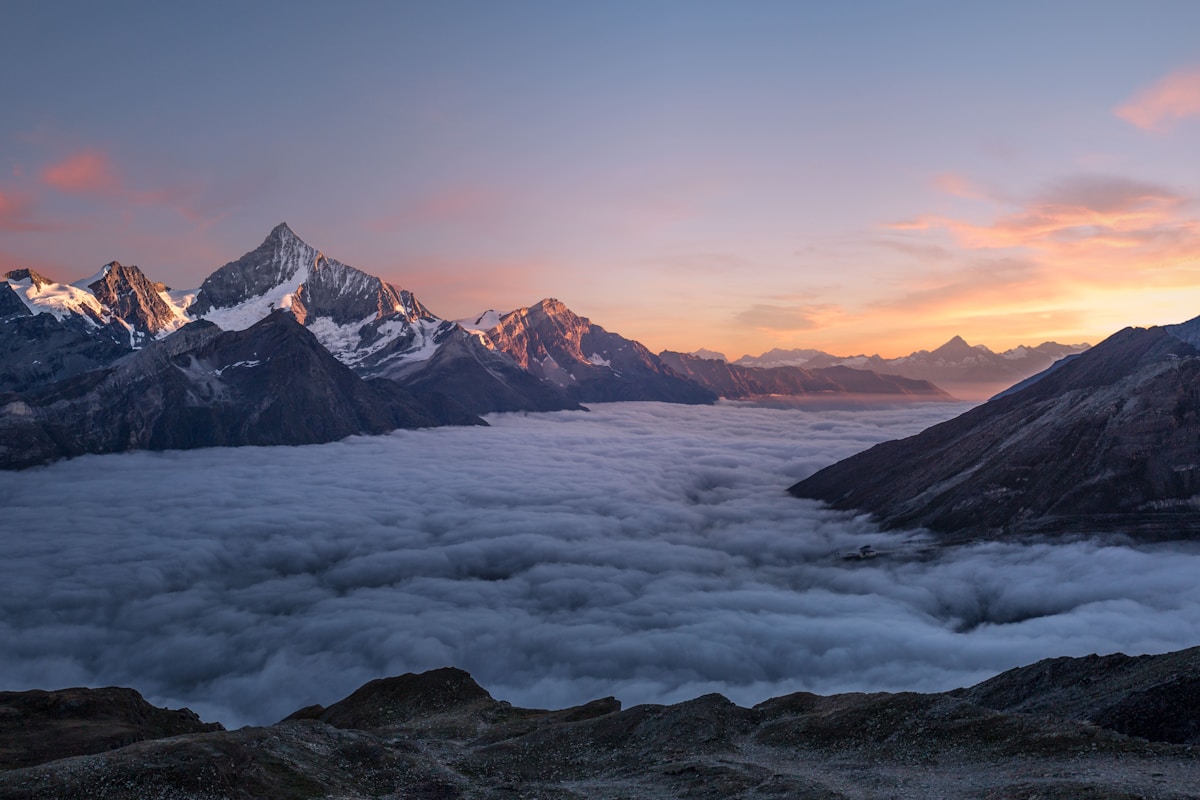
- Primary Signal: Drone Photography Tips for Beginners: From Shaky Clips to Smooth Aerial Shots
- Overview: Good drone photos are less about expensive gear and more about slow movement, good light, and simple composition. These beginner tips will lift your aerial shots fast....
- Verification: Analyzed and compiled by FreeSky Aerial editorial monitoring desk.
Beginner drone photography often fails for one reason: movement that is too fast. A drone that jerks, turns sharply, or speeds across a scene produces footage that feels nervous and hard to watch. The single most useful habit is to slow down. Fly gently, make small stick movements, and let the scene unfold. Smooth, slow shots look professional even on a modest drone, while fast, jerky shots look amateur even on an expensive one.
Light matters more than camera settings. Early morning and late afternoon, often called golden hour, give warm, soft light and long shadows that add depth to landscapes, coastlines, and city scenes. Midday sun, by contrast, flattens everything and creates harsh shadows. If you must fly at midday, look for strong shapes, patterns, and colours — roads, rivers, rooftops, and fields — that still read well from above without dramatic light.
Composition from the air follows the same rules as photography on the ground, with one addition: height is a creative choice. Try the same subject from 10 metres, 30 metres, and 80 metres and compare the results. Low altitude gives detail and a sense of scale, while high altitude reveals patterns invisible from the ground. Use leading lines such as roads, rivers, and coastlines to pull the eye through the frame, and leave space around your subject instead of centring everything.
Camera settings should stay simple at first. Shoot in the highest resolution your drone offers, keep the frame rate steady, and avoid digital zoom, which degrades quality. If your drone offers a flat or neutral colour profile, use it when you plan to edit, but stick to the standard profile if you want good results straight out of the camera. Lock exposure when lighting is even, and practise manual focus if your drone supports it, so a bright sky does not throw off your subject.
Safety and planning improve your photos more than any filter. Scout your location on a map, check local drone rules, and arrive with charged batteries and a clear idea of two or three shots you want. Fly a test pass without recording to check wind, obstacles, and framing, then fly the shot for real. Review your footage on a larger screen after each flight and note what worked, so the next session starts from a stronger base.
Finally, edit lightly. Trim shaky starts and ends, correct colour gently, and avoid over-sharpening or heavy filters that make aerial footage look artificial. The best beginner drone photos share a calm quality: slow movement, clear subject, good light, and a frame that lets the landscape speak. Master those basics, and your shots will stand out long before you need to upgrade your drone.
Several mistakes appear in almost every beginner's first footage. Flying too high too soon makes every subject look tiny and flat, while flying in strong wind produces jerky, tilted shots even on a good drone. Another common error is recording everything: long, unedited flights with no clear subject are hard to watch, even for the pilot. Instead, plan short, purposeful shots, each with a beginning, a movement, and an ending.
Also avoid chasing dramatic moves before you master the basics. A slow push forward, a gentle orbit around a subject, and a smooth reveal from behind a hill or building are more effective than fast spins and dives. Practise each move separately, review the result, and only combine moves once each one feels smooth. Patience is the real shortcut in drone photography.
📖 Continue Reading the Full Story
Continue reading this article on FreeSky Aerial.
⚡ Access Full Content NowMore from FreeSky Aerial


 🤖 WinBar AI
Can Missed-Call Text-Back Save Tipster Services Losing Subscribers?
A subscriber calls before kickoff, hits voicemail, and cancels by full time. How instant missed-call text-back...
 🔭 FreeSky Cosmos
Best Time to See Meteor Showers 2026: Peaks, Moonlight, and Watching Tips
Meteor showers need no telescope — just dark skies, patience, and good timing. Here are the best showers of 20...
 🌍 FreeSky Remote
The Best Freelance Rate Calculator Methods for Beginners (2026)
New freelancers almost always undercharge. Here are the rate-setting methods that actually work for beginners ...
 ⚡ CyberTech 568
Best Free AI Voice Changer for Gaming in 2026
A good voice changer adds fun to game night without lag or robotic audio. Compare the best free options for Di...