Drone Photography Composition: 8 Rules for Aerial Photos That Stand Out
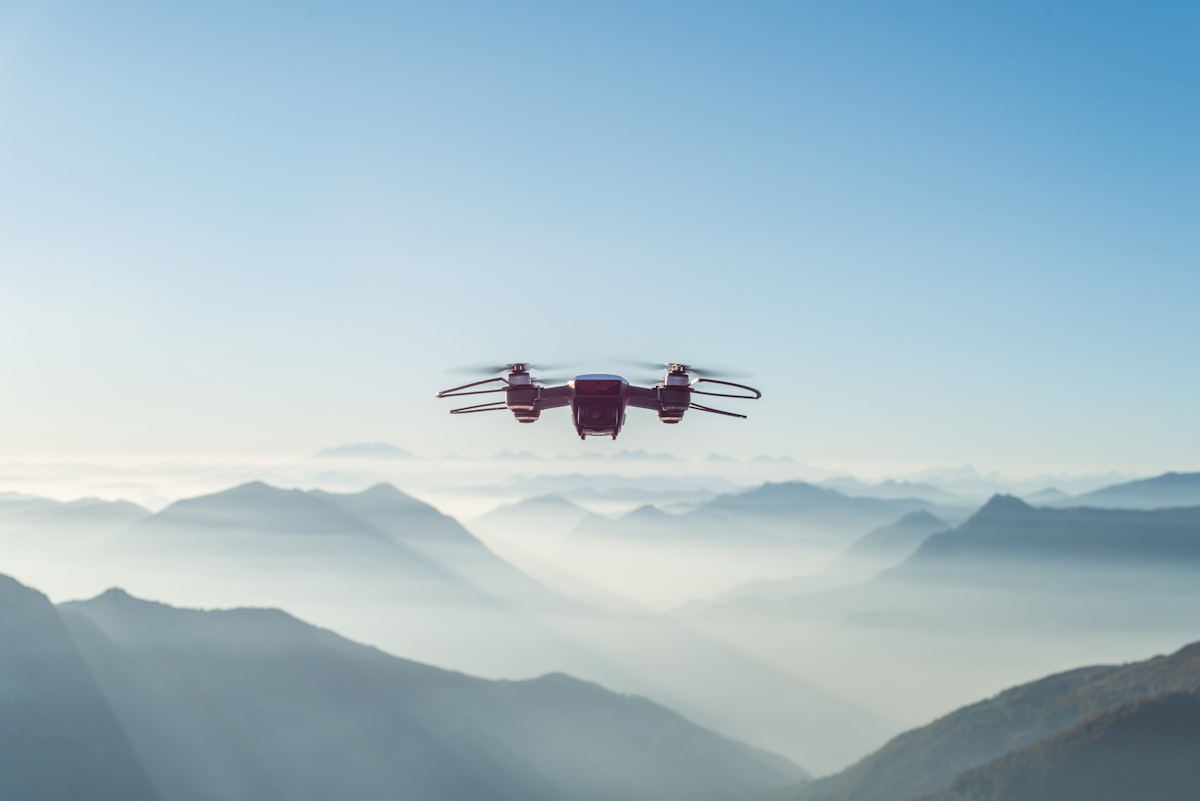
- Primary Signal: Drone Photography Composition: 8 Rules for Aerial Photos That Stand Out
- Overview: Aerial photos fail for the same eight reasons. Leading lines, scale, light, and the rule of thirds, applied from 100 meters up, turn flat drone shots into images people remember....
- Verification: Analyzed and compiled by FreeSky Aerial editorial monitoring desk.
Most drone photos look the same: a flat, high-altitude view of something interesting that somehow feels boring. The problem is rarely the camera. It is composition. From the air, the rules of photography still apply, but they work differently, because the perspective is unfamiliar and the scale is hard to read. Eight rules fix most of what goes wrong.
The first rule is to include scale. A landscape from 100 meters up has no sense of size unless something familiar is in the frame: a person, a car, a boat, a house. Without scale, a beach looks like a desert and a river looks like a crack in the ground. Put the familiar object near the edge of the frame rather than the center, so it anchors the image without dominating it. The second rule is the rule of thirds: place the horizon on the upper or lower third line, never in the middle, and place your subject where two lines cross.
The third rule is leading lines. Roads, rivers, coastlines, fences, and shadows all draw the eye through a photograph, and from the air they are everywhere. Position the drone so the line enters from a corner and leads to the subject, rather than cutting the frame in half. The fourth rule is patterns and repetition: fields, rooftops, parked cars, and waves all form patterns that look extraordinary from above, and a single break in the pattern, one red car among white ones, one tree in a field, makes the image.
The fifth rule is light, and it matters more from the air than on the ground. The golden hours, the first hour after sunrise and the last hour before sunset, give long shadows that reveal texture and depth. Midday sun from directly above flattens everything into a map, which is useful for mapping but dull for photography. Shoot with the sun low and to the side, and use shadows as compositional elements rather than fighting them. The sixth rule is to fly lower than you think: most striking aerial photos are taken between 20 and 60 meters, not at the 120-meter legal maximum, because lower altitudes preserve detail and depth.
The seventh rule is to simplify. Aerial photos fail when the frame is crowded, so remove everything that does not serve the image: fly higher to crop out clutter, or lower to fill the frame with one subject. The eighth rule is to shoot in RAW and expose for the highlights, because a blown-out sky cannot be recovered and a slightly dark foreground can always be lifted in editing. Check the histogram after the first few shots rather than trusting the screen, which is hard to read in sunlight.
The practice routine is straightforward. Pick one location and photograph it eight times, once for each rule, and compare the results at home. The differences will be obvious, and the rule that improves your photos most is the one to practice until it becomes automatic. Composition is not talent. It is a checklist, and from a drone, the checklist is shorter than most photographers think.
Editing is where aerial photos become finished images, and the first step is selection: keep the best ten percent and delete the rest, because a weak photo dilutes a strong one in any portfolio or post. Adjust exposure and white balance first, then contrast and color, and crop last, because cropping before correcting wastes the pixels you need. A light touch beats a heavy one from the air: the goal is to make the photo look like the scene felt, not like a filter advertisement. The best compliment an aerial photo can get is that it looks effortless, and effortless takes an edit.
📖 Continue Reading the Full Story
Continue reading this article on FreeSky Aerial.
⚡ Access Full Content NowMore from FreeSky Aerial


 🔭 FreeSky Cosmos
Operational Standard: BMI Calculator — Body Mass Index & Healthy Weight (Day 21 Guide)
Establishing consistent quality with the BMI Calculator — Body Mass Index & Healthy Weight on FreeSky Cosmos. ...
 🌍 FreeSky Remote
Best Standing Desk for a Home Office in 2026: What to Buy and What to Skip
A good standing desk is the single best upgrade for a home office, but the market is full of wobbly frames and...
 ⚡ CyberTech 568
Step-by-Step Tutorial: Playback Speed Calculator — Video Time at Any Speed (Day 2 Guide)
How to accurately use the Playback Speed Calculator — Video Time at Any Speed on CyberTech 568. Discover essen...
🤖 WinBar AI
Step-by-Step Tutorial: YouTube Thumbnail Downloader & Grabber — 4K (Day 2 Guide)
How to accurately use the YouTube Thumbnail Downloader & Grabber — 4K on WinBar AI. Discover essential practic...