Camera Gear Carry-On Packing Tips for Flights: Fit More, Risk Less
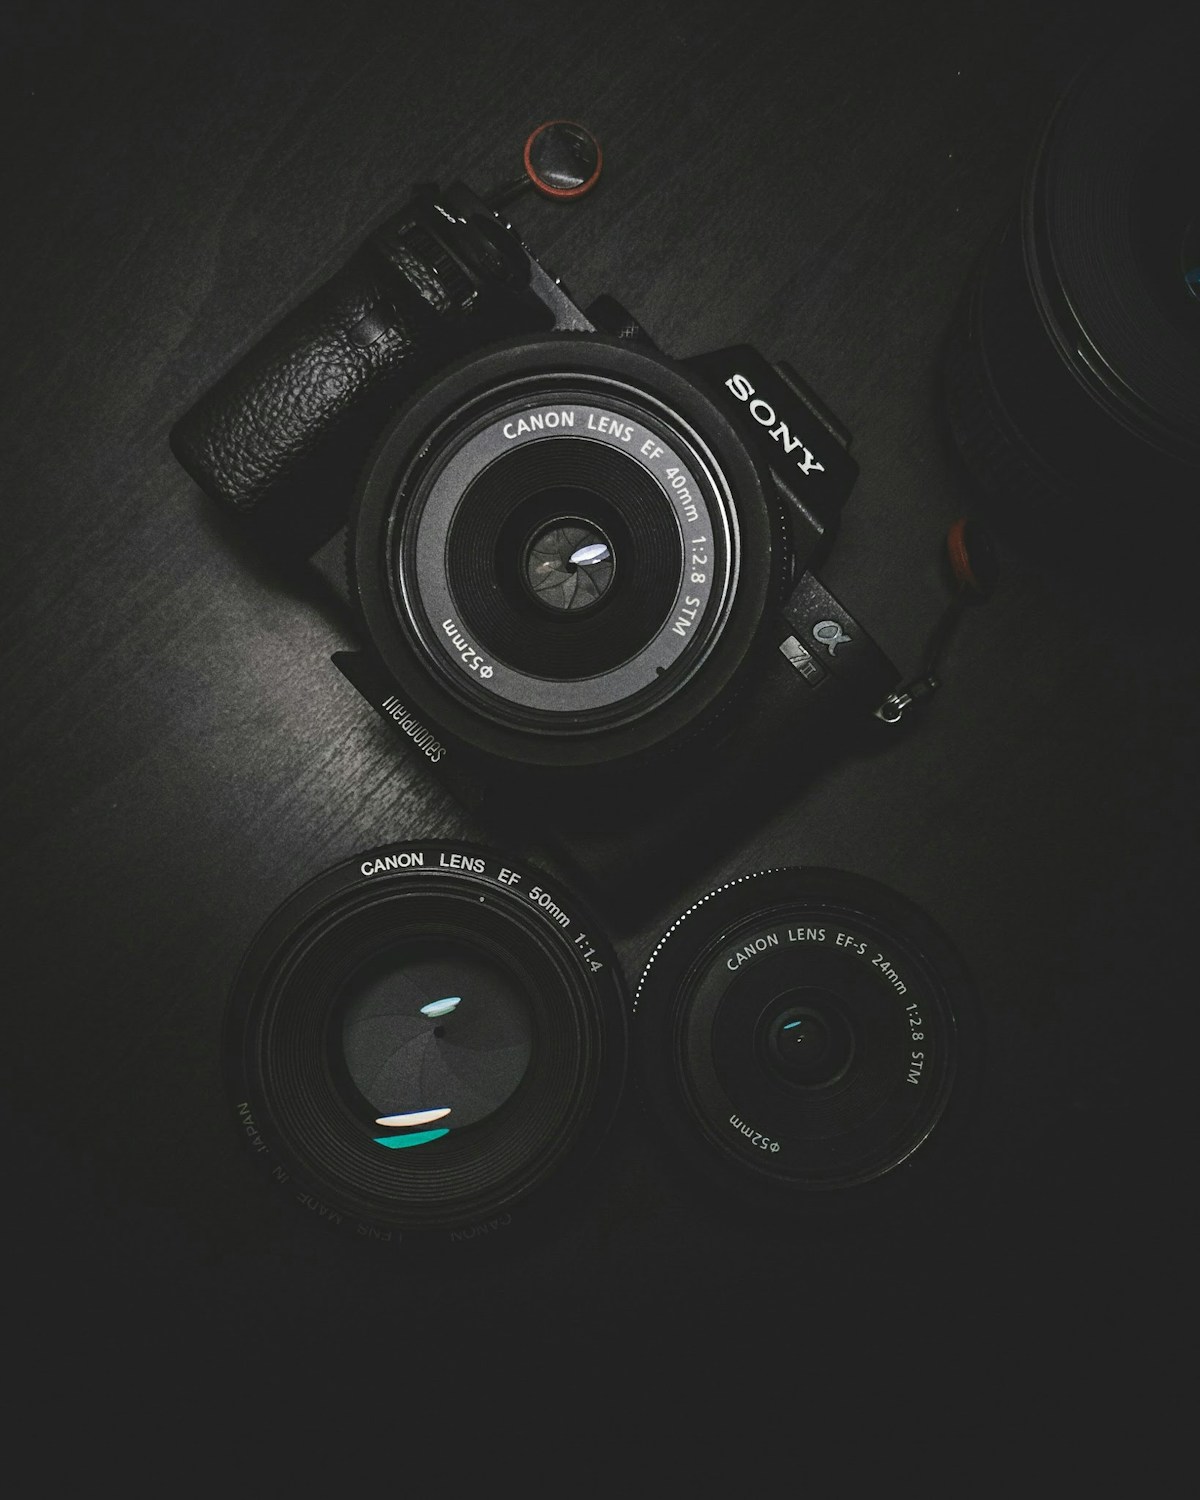
- Primary Signal: Camera Gear Carry-On Packing Tips for Flights: Fit More, Risk Less
- Overview: Camera gear is safest in the cabin, but cabin space is limited. This guide covers packing order, weight limits, lens protection and the security screening routine....
- Verification: Analyzed and compiled by FreeSky Aerial editorial monitoring desk.
Camera gear and checked luggage are a bad combination. Baggage handlers move fast, holds are unpressurised and cold, and a lost checked bag can end a photography trip before it starts. Most experienced photographers carry every camera body, lens and memory card in the cabin, and use checked luggage only for tripods, clothing and chargers. The challenge is fitting a full kit into cabin size and weight limits without damage.
Start with the bag, not the gear. A dedicated camera backpack with adjustable dividers protects better than a regular bag with a padded insert, because dividers stop lenses rolling into each other. Choose a bag that meets your airline's cabin dimensions, and remember that budget airlines often enforce smaller limits than full-service carriers. Weigh the packed bag at home: many airlines cap cabin bags at 7 to 10 kilograms, and a full camera kit reaches that limit quickly.
Packing order matters. Put the heaviest items, usually camera bodies and large lenses, closest to your back for comfortable carrying and to keep the bag's centre of gravity stable. Place lenses upright with caps on both ends, and never stack lenses loose on top of each other. Use lens wraps or pouches for odd-shaped items, and keep filters in a filter wallet rather than loose in a pocket where they scratch.
Small items cause the most losses, so give them homes. Memory cards belong in a card wallet, not loose in a pocket. Batteries go in individual cases or with terminals taped, and spares stay in cabin baggage under lithium rules. Cables, chargers and adapters fit well in a small pouch at the top of the bag, where they are easy to reach without unpacking the whole kit. A packing list on your phone helps you verify nothing is left in a hotel room.
Security screening is routine but worth preparing for. Keep the camera bag accessible, since screeners may ask you to remove large electronics and sometimes to power on a camera body. If asked, comply calmly; this is a standard check. Some airports also swab bags for explosives residue, which is normal and harmless. Keep memory cards in your personal item rather than the main camera bag if you want an extra layer of separation for your images.
Weight management is the skill that separates comfortable travellers from struggling ones. Audit your kit before each trip and leave behind lenses you rarely use. A single versatile zoom often replaces two primes on a travel trip, saving weight and bag space. Renting specialist lenses at your destination is another option for occasional needs, and it avoids carrying a heavy lens you will use once.
Finally, insure the kit and record serial numbers. Photograph each item and its serial number before departure, and keep the list in cloud storage. If a bag is stolen or damaged, that record turns a painful insurance claim into a straightforward one. Cabin packing protects your gear in transit; documentation protects it if something still goes wrong.
A well-packed camera bag is a quiet kind of freedom. When everything has a place, you stop worrying about your gear and start looking for pictures, which is the whole point of carrying it. Spend the packing time at home, test the bag on a short trip first, and refine the layout until grabbing the camera is instinct, not a project. Label every pouch and divider once, and repacking after each shoot becomes a two-minute job. Label every pouch and divider once, and repacking after each shoot becomes a quick two-minute job instead of a chore.
📖 Continue Reading the Full Story
Continue reading this article on FreeSky Aerial.
⚡ Access Full Content NowMore from FreeSky Aerial


 🔭 FreeSky Cosmos
Pro Tips & Tricks: Freelancer Net Pay Calculator (PKR) — Upwork, Fiverr & Payoneer Fees (Day 13 Guide)
How professionals get 10x value from the Freelancer Net Pay Calculator (PKR) — Upwork, Fiverr & Payoneer Fees ...
 ⚡ CyberTech 568
Risk Management Playbook: Playback Speed Calculator — Video Time at Any Speed (Day 22 Guide)
Minimizing downside volatility with the Playback Speed Calculator — Video Time at Any Speed on CyberTech 568. ...
🗺️ FreeSky GeoData
Risk Management Playbook: BMI Calculator — Body Mass Index & Healthy Weight (Day 22 Guide)
Minimizing downside volatility with the BMI Calculator — Body Mass Index & Healthy Weight on FreeSky GeoData. ...
 🎮 GameVault 668
Pro Tips & Tricks: Playback Speed Calculator — Video Time at Any Speed (Day 13 Guide)
How professionals get 10x value from the Playback Speed Calculator — Video Time at Any Speed on GameVault 668....