Drone Photography Tips for Beginners: How to Shoot Cinematic Aerial Photos
- Primary Signal: Drone Photography Tips for Beginners: How to Shoot Cinematic Aerial Photos
- Overview: Drone photography tips for beginners: composition, light, camera settings and the shots that make aerial photos stand out....
- Verification: Analyzed and compiled by FreeSky Aerial editorial monitoring desk.
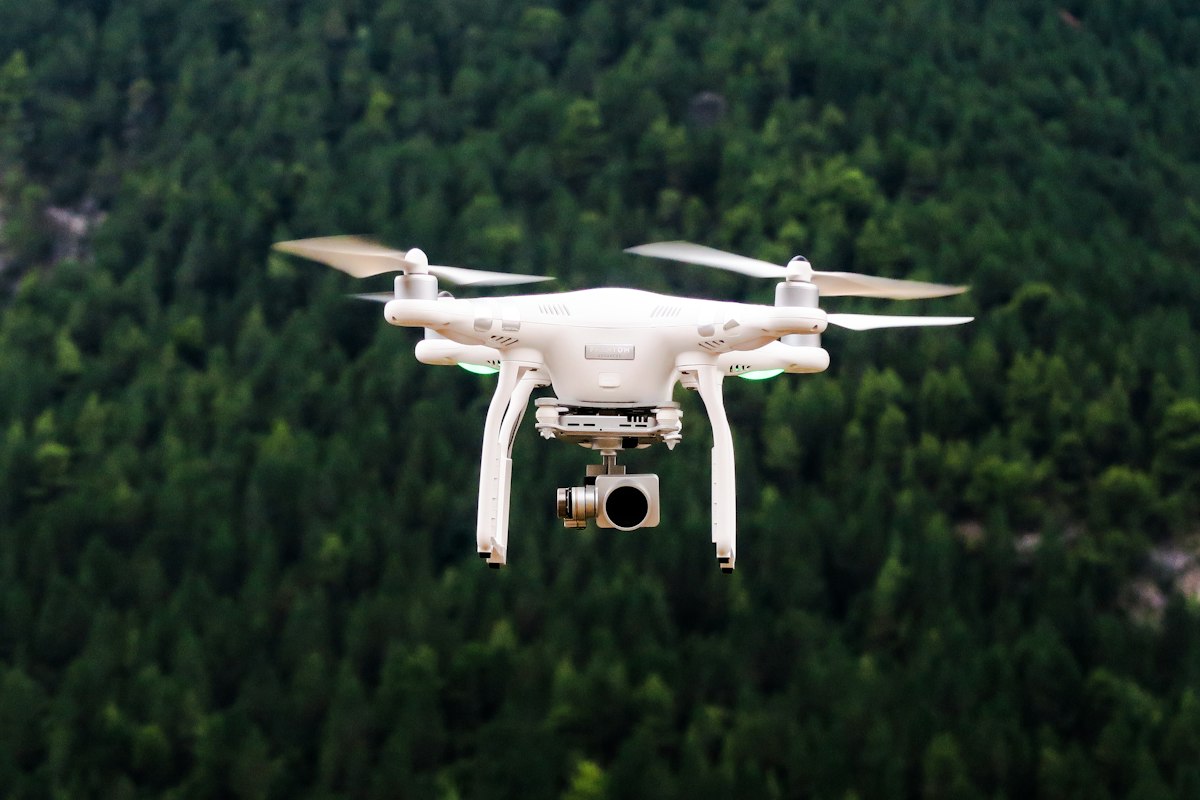
Drone photography looks easy until you see your first photos: flat light, tilted horizons, and subjects that looked huge from the ground and tiny from the air. The difference between an average aerial photo and a stunning one is rarely the drone, it is composition, light and camera settings. This guide covers the techniques that make beginner aerial photos look professional.
Composition From Above
The top-down shot is the drone's superpower: patterns, symmetry and leading lines that are invisible from the ground become obvious from the air. Look for roads, rivers, coastlines and shadows that lead the eye through the frame. Use the rule of thirds, placing the subject off-centre, and include a sense of scale, such as a person or a boat, so the viewer understands how big the scene is. Shoot in RAW so you can recover detail in editing.
Light: The Golden Hours Matter More
The best aerial photos are shot in the golden hour after sunrise or before sunset, when low light creates long shadows and warm colour. Midday light from directly above flattens everything and washes out colour, so avoid shooting between 11am and 2pm unless the sky is dramatic. Overcast days work well for forests and water, because soft light reveals detail without harsh shadows. Plan your flights around the light, not around your schedule.
Camera Settings That Work
Shoot in manual mode with the ISO as low as possible, usually 100, and the shutter speed at twice the frame rate for video. Use a low aperture number for a shallow depth of field, or a higher number to keep the whole scene sharp. Set white balance manually rather than leaving it on auto, because auto white balance shifts colour between shots. Bracket your exposures for stills, taking three shots at different brightness, so you can blend them later.
The Shots Worth Learning
Learn five shots and your footage will look professional: the reveal, rising to show a landscape; the orbit, circling a subject; the tracking shot, following a moving subject; the top-down, looking straight down; and the fly-through, passing a foreground object. Practise each one slowly and smoothly, because fast, jerky movements ruin the cinematic feel. Fly at half the speed you think you need, and the footage will look twice as good.
Editing: Where Photos Become Great
Edit every photo: straighten the horizon, correct the exposure, boost the shadows slightly, and add a touch of saturation and contrast. Free tools like Snapseed and Lightroom Mobile handle most of this on your phone, while Lightroom on desktop offers more control. Do not over-edit: the goal is to make the photo look like the scene felt, not like a different scene entirely. Save your edits as presets so your photos develop a consistent style.
Drone Photography and the Law
Aerial photography is beautiful, but it is also regulated: privacy laws, no-fly zones, and local rules all limit where you can shoot. A photo of a private garden, a school, or a military installation can create legal trouble even if the flight was legal. Check the airspace, respect people's privacy, and avoid flying over crowds. The best drone photographers are the ones who know the rules as well as the camera settings, because a great photo is worthless if it breaks the law.
Key Takeaways
- Top-down shots reveal patterns invisible from the ground - Golden hour light creates the long shadows that make aerial photos - Shoot RAW, keep ISO at 100, and bracket exposures for stills - Five shots cover most needs: reveal, orbit, tracking, top-down, fly-through
Frequently Asked Questions
What is the best time of day for drone photography? The golden hour after sunrise or before sunset, when low light creates long shadows and warm colour. Avoid midday, when overhead light flattens the scene.
Great aerial photos come from composition and light, not from an expensive drone. Shoot at golden hour, fly slowly, and edit every shot.
More from FreeSky Aerial